A good quality compost is often the worst kept, but most powerful gardeners secret to a healthy and productive garden. A good compost will help moisture retention and improve soil structure for your plants, balancing pH levels, supporting natural soil organisms, and improving nutrients across the board. What’s not to love?
I’d happily say nothing, but it does take some extra time and work to add this beautiful black gold to your growing process. However, it can either be fairly fast with the right method and tools, or take longer but be pretty low effort. Today we’ll cover all the details you’ll want to know to find a composting method that will work for you, while jump starting your garden.
How Long Does It Take To Make Compost?
The short answer is that it depends. Depending on what’s in your composting pile and how you go about tending it, it can take three weeks to three years to have good usable compost. The most import variables include:
Optimal Size For Your Compost Pile
Compost is created by microbes carrying out chemical processes with your rich selection of decaying plant matter, turning it into high quality nutrients for growing. This process needs heat, but also naturally creates heat, so as the compost reaches higher temperatures it creates an ongoing acceleration in the rate of the composting process. Heat is essential for speed and efficiency for these microbes, and having the right size pile will lead to the best heat generation.
A compost pile around 3’x3’x3’ is the most efficient, giving temperatures of up to 170F in the right container. Piles smaller or larger will generate less heat, and therefore be slower. You can certainly go smaller or larger, just know that it will affect composting times.
Similarly, having your compost bin in a warmer environment will allow it to maintain a higher temperature and a faster composting process, so if you keep your bins in the shade vs the sun, you’ll have a change in composting speeds. Also, composting in the colder months, or simply colder climates, will naturally be a slower process.
Oxygen Levels: Turning At Appropriate Intervals
Our compost making microbes need oxygen to do their job, and turning the compost will help sift in oxygen for them. Once a week is a pretty good interval most of the time (we’ll discuss some other methods below). Poking aeration holes can work as well, but isn’t as ideal, which is one reason why turning barrels for your compost are so useful (especially since turning a pile of compost is hard work without one!). Unturned compost will rarely be done in less than a year because of the very low levels of oxygen permeating the pile. Also important to remember is that when you first combine your composting ingredients, make sure to mix it thoroughly!
Compost Ingredient Ratios
Having the right ratio of composting contents (“green to brown”, and no inappropriate composting items) is vital for speed and quality of your compost. Every composting gardener seems to have their favorite ratio which is ‘tried and true’ for them, so you may end up playing with it over time to see what gives you the fastest result, and the happiest plants.
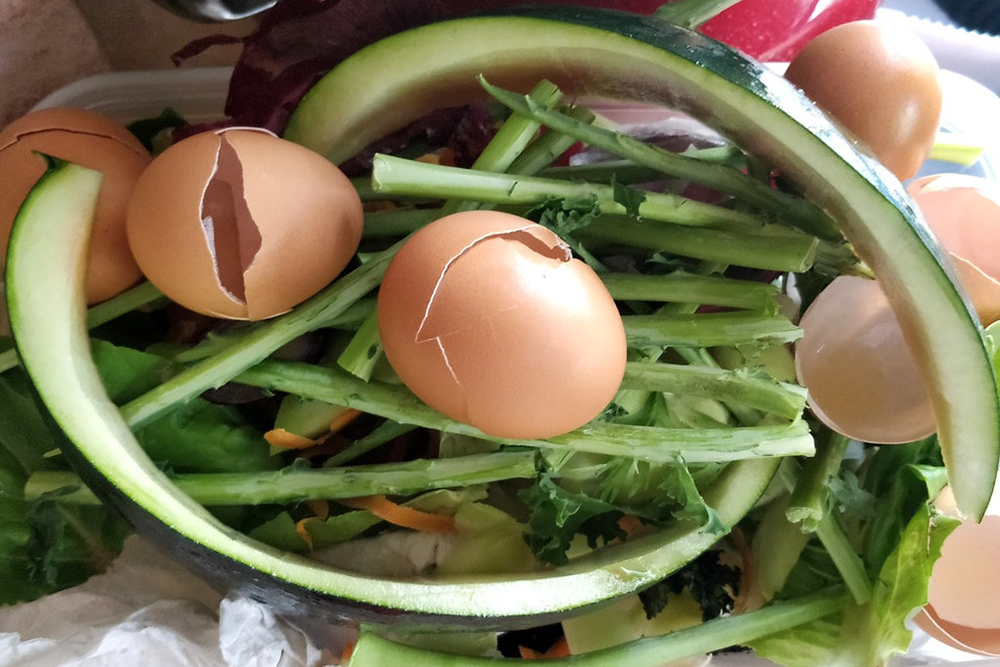
The most common range of ideal ratios have a 20:1 to 100:1 ratio of carbon to nitrogen, where your carbon (browns) rich material will include dry leaves, straw, corn stalks, and even sawdust and shredded paper, and your nitrogen (greens) will come from your garden trimmings, kitchen scraps, and even grass trimmings or seaweed. Nitrogen rich materials are a necessity, but too much will leave you with a slimy, smelly mass that you won’t want to spread over your garden!
Appropriate Moisture Level
Just like oxygen and heat, water is needed for the composting process to work, and there’s definitely a ‘just right’ level of moisture we’re looking for. A good thorough state of being ‘damp’ like a squeezed out sponge is a good goal to shoot for. Any more or any less and you’ll really inhibit or even stop your composting process. So when stirring your compost, check for this level of moisture, and add small amounts in between turning as needed to achieve it.
The Size Of Composting Ingredients
Like so many things in chemical processes, surface area matters. Shredded plant matter will compost much faster than tossing in whole leaves and other compostables. Lawn mowers or leaf shredders are great for back yard compostables, and using a kitchen knife or even blender for kitchen scraps. Any sawdust should already be pretty small (choose the smallest you can get) and any paper you use (no dyes! Leave the college ruled or colored pages out) should be shredded thoroughly.
Tips, And Common Composting Mistakes To Avoid?
Common Mistakes
The biggest mistakes also tend to be the most common, which are simply not supplying what your compost needs most, which we detailed above: good starting material, oxygen, moisture, and the right size for good heat. Following these, the most common composting mistake we see is the understandable urge to toss in all the kitchen scraps and yard waste you have. This can quickly mess with your 20+:1 ratio, and some items should be avoided entirely, like dairy and meat, though rinsed egg shells are great. You should also avoid any pet leavings that have ended up in your yard and may mix with leaves and grass you want to compost with.
When you’re trying to get some ready compost together fairly quickly, continuing to add more fresh materials to the compost bin is going to slow down the process substantially. This isn’t normally a problem if you’re looking to build up a good compost over several months to use for the following season or year, but is not going to help you get a batch ready sooner than later.
Let’s Talk Quality
Back to the thought of throwing in everything but the kitchen sink; when the goal of compost is to help you support healthy plants, especially if you’re using them to harvest healthy produce of some kind, we want to be picky about our compostables! If you use shredded paper, avoid paper which has dyes and ink. Don’t throw in any plants from your garden which have had herbicide or weed killer used on them, or other such poisons and contaminants. Coal and cigarette ash (wood ash is fine) is unsurprisingly a bad idea. Sick or diseased plants also won’t be good food for your living plants! Any inorganic materials are also, obviously, a no go, as they simply won’t compost and may add contaminants, so any plastics, metals, etc. should not be added to your compost.
Keeping A Thought To Speed
Some plant materials are perfectly fine to compost, but will take quite a long time to do so, some of them on the order of years, so should only be included if you’re looking for a longer composting time in any given batch. Remember that the size of these ingredients will always be a big factor. The more finely chopped, ground, or even blended the ingredients are, the faster they will compost no matter what it is.
Items which may take a year or two to fully compost include: fallen autumn leaves, greens from pruned hedges, cardboard, natural fibers (like cotton/wool/silk clothes or sheets), nettle and the stems of herbaceous plants.
Compostables which may take three years or longer include: Pine cones and pine needles, ivy, wood shavings and chips (depending in part on size), tree twigs, wine corks, tooth picks, fruit and avocado pits.
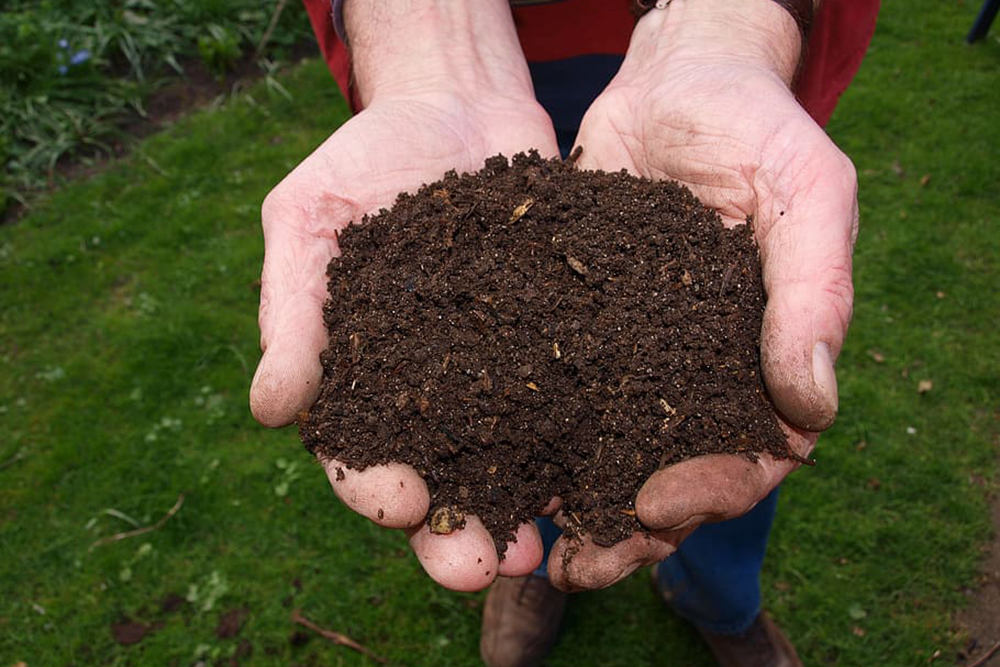
How Do You Know When Compost Is Ready?
This one is a pretty straight forward answer: your compost should look pretty much like dirt. It should be dark, smooth, crumbly, and smell like soil or a wet forest. If you’re not sure, take a hand full and put it in a plastic bag for a few days then open it up. If it smells like dirt, you’re good to go. If it smells sour, or like ammonia it’s not ready yet.
One additional thing to watch for, is that your compost should naturally be warmer than the ambient temperature it’s being stored in. Normally as it starts cooling down and gets closer to the ambient temperature it means the chemical processes have slowed and it’s time to turn it again, but when you turn it and it doesn’t heat back up to more than about 10F of your ambient temperature, your compost is about ready!
Some composting materials may not actually be fully broken down yet when the rest of the compost is ready, especially bigger items like corn husks or cobs. In these cases you can still use the compost if it fits our above ‘tests,’ just leave these larger chunks behind to continue composting, whether they are those large corn cobs or identifiable leaves, etc.
There are still some uses, however, for compost which isn’t quite done yet. Using compost which is nearly there as mulch for trees and shrubs can help moisture retention as a good mulch will, while also adding additional nutrients as the compost continues decomposing.
Regardless of the method you use, your finished composting pile will be about ⅔ the size you started with, so keep that in mind in case you had a specific compost yield you were aiming for.
How To Speed Up Composting
Besides getting your basics down and avoiding common mistakes, what will make compost break down faster? There’s actually quite a lot you can do to speed up the composting process dramatically.
Use Materials That Break Down Quickly
If you’re looking for fast compost, the simplest way to get to a good finished compost fast, in addition to getting the basics down and optimized, is to pick materials that simply break down quickly.
- Shredded leaves, roots and weeds, flower heads, as well as cut grass.
- Fruit peels, like lemons and oranges.
- Coffee grounds (a good source of low-acid nitrogen) and tea leaves/bags.
Use Tumbling Composting Bins
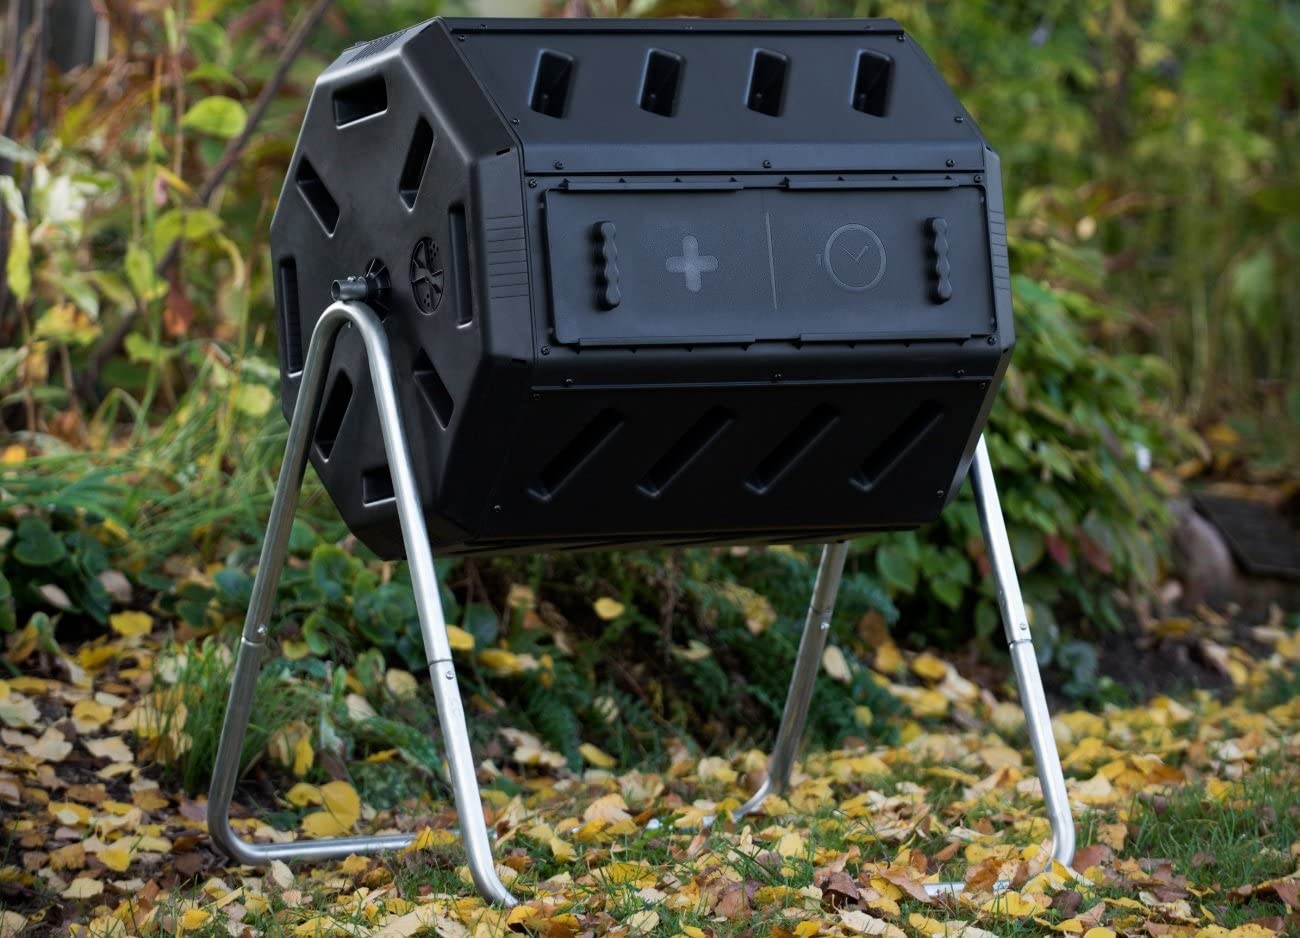
As we mentioned above, having a rotating composting bin comes with a lot of benefits. They help you keep the heat up for your compost which by itself will give you a faster ‘composting harvest,’ as well as let you easily turn the compost as frequently as you need, which let’s be honest, is very likely to be more frequent than if you had to turn it with a shovel on the ground! The convenience factor is huge and practical, but is also vital for the hot turning method we describe below.
Tumbling compost bins can definitely be a good DIY project, but is higher in effort to get a bin we actually want to use, so we’ve stuck with a store bought bin. Our personal favorite is the 37 gallon FCMP Outdoor IM4000 Tumbling Composter (quite the mouth full of a name, admittedly!) which has fantastic heat retention for faster composting, while breaking up larger clumps of composting material as you turn it. If we plan on going with smaller or ongoing composting throughout the year, it does have two chambers so we can have one ‘aging’ while we’re getting the next one started. Whether one or two separate batches, 37 gallons of capacity will go a long way.
The Hot Turning Method
If getting a batch of compost made at home as quickly as possible is your goal, the hot turning method is likely going to be your fastest option. With this approach, we will first do what we would with any other batch of compost: assemble our ingredients, all chopped as finely as possible, with as ideal a mixture of green:brown (carbon to nitrogen) as possible (here, 30:1), and appropriate moisture. It’s heavily focused on heat (given the name), however, so a 3’x3’x3’ pile of compost is vital for the best speed.
With this method you’ll rotate your pile daily for the first week, and then every other day for the following two weeks. If you’ve used finely cut and faster composting materials, you may have usable compost in as few as three weeks.
Because of how much turning is required, I highly suggest using a turning composting bin!
Vermiculture Composting
Vermiculture is the use of worms to help with your composting process. With a good colony of established worms, you can get a batch of compost in as little as a month once you really get going. Composting with worms is a large topic by itself, from what type of worms to use, what kind of bin you should house them in, and how to keep them happy and healthy while they produce some A+ compost for your garden. We’ll cover this more thoroughly in a separate article so that we do it proper justice and cover it thoroughly.
Vermiculture composting can be achieved by critters other than just worms, however. The black soldier fly is a gardeners favorite, as their larva will produce good quality compost, while being more resilient to a wider range of temperatures, and may give you usable compost in as little as three weeks. If you have chickens, the larvae will also make great feed after they’ve plumped up on your compost!
Add Finished Compost
Ready to use compost is packed with the happy, active microbes which were responsible for the process that made that compost. Adding some finished compost to your next batch will speed it along significantly by populating it with a vibrant culture of microbes from the start. Because of this we always hold back some of each batch of compost for the best start to our next round of compost.
Composting Accelerator
There are a wide range of products on the market which help speed up the composting process, especially if you need to nudge your nitrogen ratio a bit. Making your own is also pretty straight forward, and lets you tweak the mixture over time to optimize your accelerator.
Homemade Compost Catalyst
Mixing up your own home made composting accelerator is surprisingly simple. We mix a good source of nitrogen, yeast, and sugar together with warm water and then thoroughly mix into our compost base, and that’s it. The yeast will help add cultures to carry out the decomposition process, and the sugar gives extra food for the microbes to get started. If you have good nitrogen sources, you can minimize how much you add, but I find that the liquid source helps get it started faster.
For our own home mixture we use beer for the yeast, ammonia for the nitrogen, and a can of soda (but not diet or no-calorie) for the sugar. While it may seem silly, we also prefer using a soda from a higher quality, lower batch soda company that won’t add the chemicals you see in your average can of cola. Heating your water and dissolving sugar in it works just sa well.
To mix this up, get a clean bucket which isn’t contaminated with chemicals or other leavings from previous use, and combine: one can of flat beer (or about 6-8oz, open it and let it sit on the counter overnight to go fully flat), one can of soda (or about 12oz), 4oz of ammonia (half a cup), and two gallons of warm water. Adjust recipe accordingly if your compost will be bigger, or smaller than 3x3x3’.
pH Balancers
A lot of accelerators or home made recipes will include lime or other ‘pH balancers,’ but I prefer avoid these as earlier on in the composting process your compost will become pretty acidic, which helps kill off any pathogens in the compost. If we try to adjust the pH too early, it may stop this important step and after that the composting micro-organisms regulate the pH to what they need for the process to continue. Once the compost is finished, you can adjust the pH of the final compost accordingly, depending on what the pH needs are for the soil you’re adding it to, but finished compost is usually neutral or slightly alkaline which most plants will be quite happy with. Also, lime in excess will release ammonia, which will break down to nitrogen and too much nitrogen can ruin your compost.
Pre-Made Composting Accelerator
If you want to skip the home made process, or perhaps more importantly, get a mix which is a bit more elegantly purpose made, getting a pre-made accelerator can be a great idea. Our favorite is Jobe’s Organic Compost Starter, which has a great spread of microbe cultures, which is the actual work horse in composting. This is especially useful if you don’t already have ready compost from a previous batch, which would normally be your best supply of composting microbes. As is in the name, Jobe’s compost starter is organic, avoiding the chemical components we’ve seen in a lot of other accelerators, while adding some extra nutrients to the mix.
Conclusion:
Composting is such a rich and rewarding process to add to your garden: minimizing waste, lowering your costs, and getting a healthier and bigger yield in your plants. Whether you’re looking for a fast batch of composting for this season, or you want to get ready for next year, you now have all the tools and knowledge to get to it!